Multi-Extrusion
Enabling Multi-Extrusion
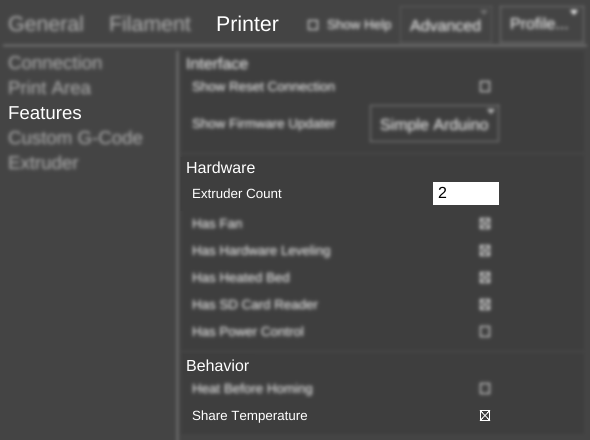
MatterControl's built in printer profiles are already set up for multi-extrusion on those machines that are capable of it. If you have a custom printer, you can enable multi-extrusion within the device's hardware profile. Specifically, the following settings: 'Printer' > 'General' > 'Extruder Count' and 'Printer' > 'General' > 'Share Temperature' (the latter determines whether the extruders have separate or shared heating elements).
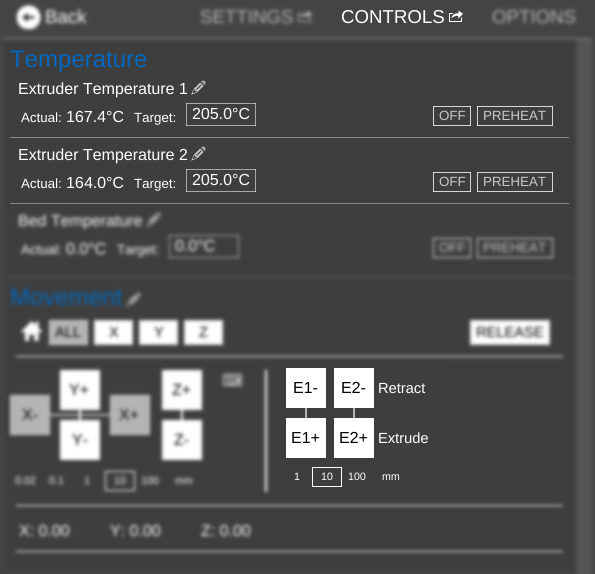
Separate manual extruder controls are automatically added for each extruder. For machines with separate heating elements new temperature controls will appear for the additional extruders.
Printing with Multiple Materials
Multi-component parts can be imported or created within MatterControl by combining multiple parts. Preparing a part for multi-material printing is a matter of loading in parts, arranging them, and assigning materials.
Aligning Parts
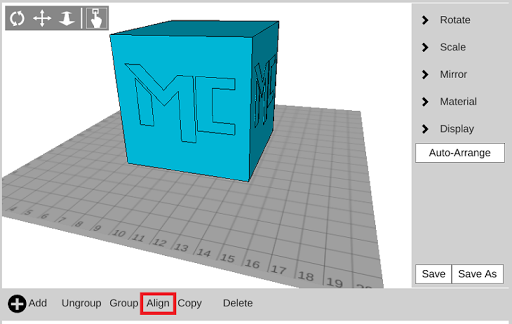
It is possible to automatically align parts that have been designed using the same coordinate system. Align actually moves all the parts on the bed to their absolute positions relative to the currently selected part.
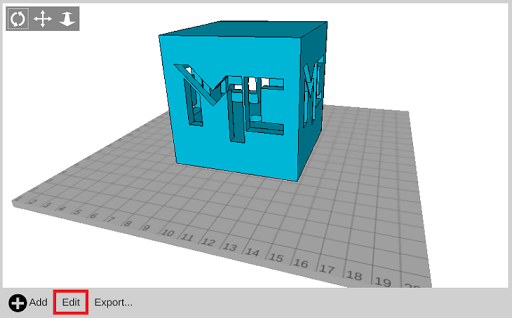
Step 1 - Switch to edit mode
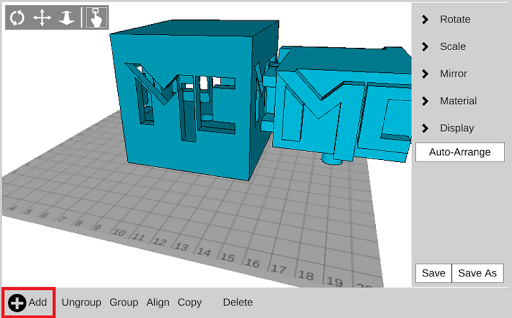
Step 2 - Add additional parts to the bed
Step 3 - Select the 'Align' button to align the parts
Assigning Materials
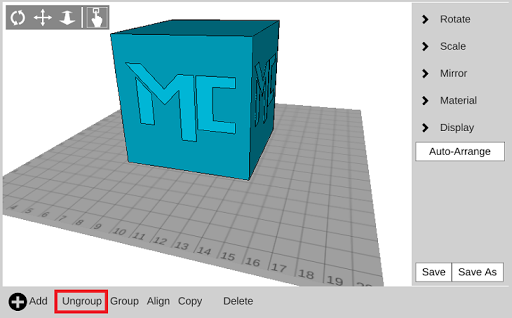
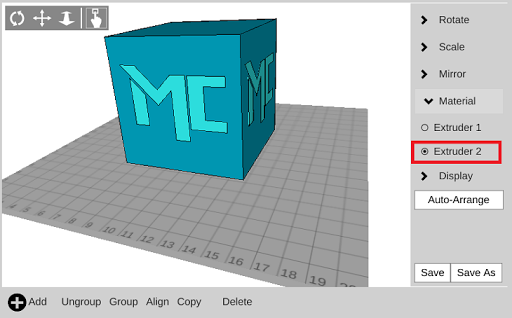
Now that you have part you would like to print you may want to assign different material to different sections of the part. You will need to ungroup your part then select each sub-part to assign a material.
Step 1 - Ungroup (if needed)
Step 2 - Assign extruder to part and save as a new file
Relevant Multi-Extrusion Settings
Wipe Tower and Shield
The wipe tower and shield are extra structures printed to wipe off excess filament oozing out of the extruder that is not in use. To enable either of them, go to Settings > General > Multiple Extruders. You can set the distance of the shield from the object or the width of the tower. Setting these to 0 disables that structure.
Retraction
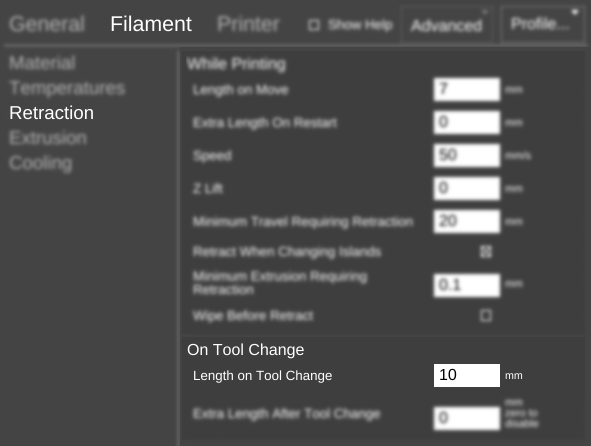
Retraction when switching between is active extruders is determined by the 'Length on Tool Change' setting ('Filament' > 'Filament' > 'Retraction' > 'Length on Tool Change').
Support Material
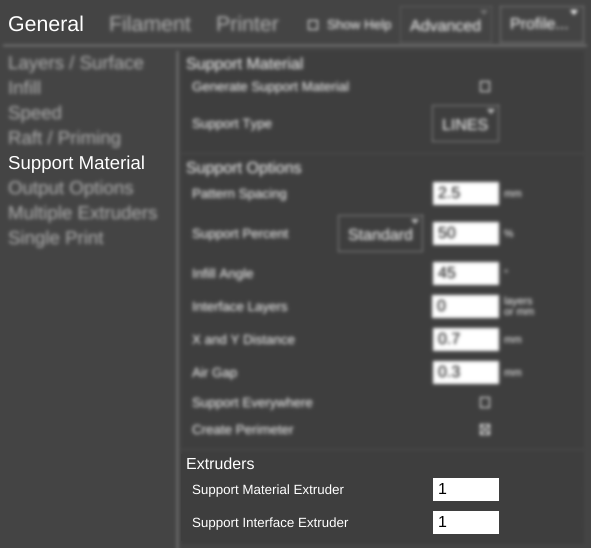
Support material can be assigned to a specific extruder using the setting 'Print' > 'Support Material' > 'Support Material Extruder'.
Tool Change GCode
In Settings > Printer > Custom G-Code there is the option to add GCode that is executed on every tool change. This could be used for a custom wiping routine, for example.
Limitations
As of MatterControl 1.4, it is not possible to use the second extruder by itself. It is only possible to use it in prints that use the first extruder as well.
